Easy way to do User Testing on cloud

This is a simple UXTesting setup tutorial on iOS app.
—
Get an account
Login on http://www.uxtesting.io/ . In Dashboard, create an app with a name. Then you will get a private key of your app.
Using CocoaPods
pod ‘UXTesting’
Add few lines of code
In AppDelegate.swift:
import UXTesting
In application:didFinishLaunchingWithOptions, please add:
UXTestingManager.sharedInstance().appKey = “YOUR_APP_KEY”
UXTestingManager.sharedInstance().isFrontCameraRecording = true
isFrontCameraRecording is an optional. If yes, the front camera will be active during your test.
Ready to go !
Run your application.
Shake to start
While your application is running, please shake the device. You will see:
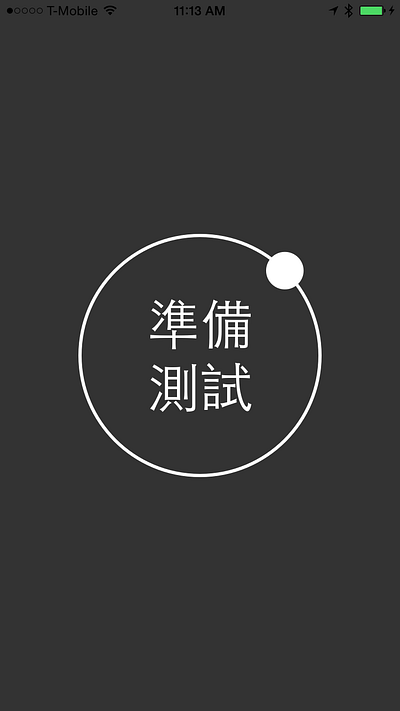
and a 5 second count-down. Then the rest interaction will be recorded.
Shake to stop
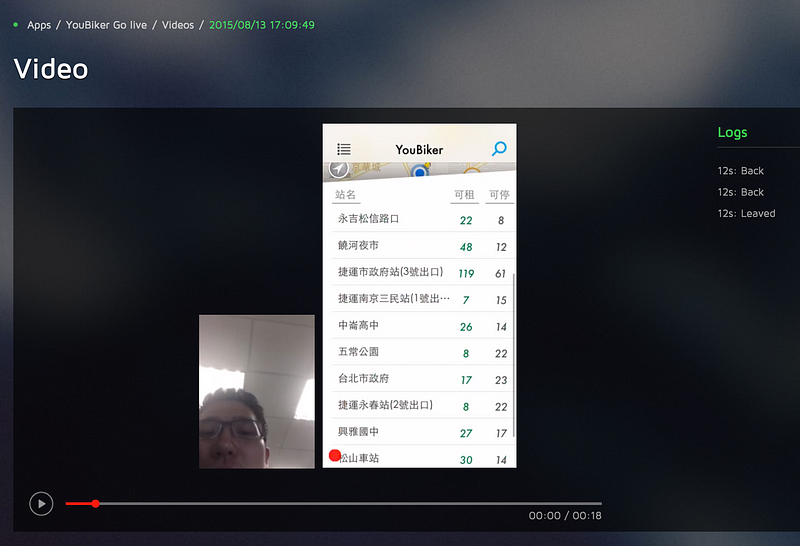
Shake again to stop (you will see the stop indicator). You will have to wait few seconds for the videos to upload.
Login on http://www.uxtesting.io/ > Dashboard > Your App Name > Videos. To see the result like this:
Objective-C also supported.
See the sample gist on :
https://gist.github.com/InjayTseng/126b5e8ec32fe487bfe8#file-gistfile1-m
Well done!
This is a simple tutorial for iOS developer, and there are more other features you might want to play with, such as user flow, touch points heat maps.
We are looking forward to hear from you. Any feedbacks and problems, please email to david@uxtesting.io. Thanks!